
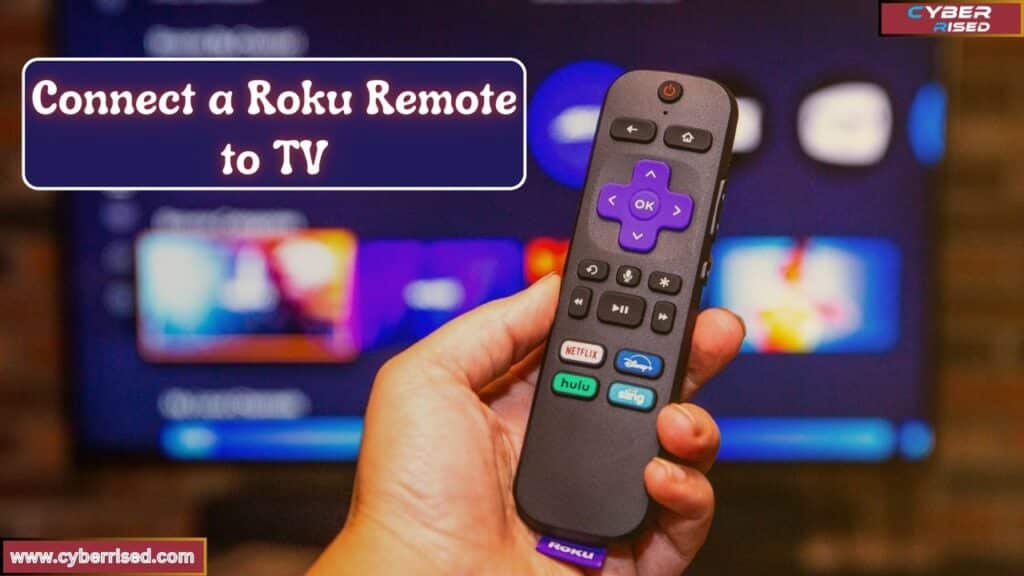
To connect a Roku remote to your TV, first, insert batteries into the remote. Next, power on your TV and select the correct HDMI input. Then, pair the remote by pressing the pairing button until a light appears. Finally, follow the on-screen instructions to complete the setup.
Struggling to connect your Roku remote to your TV? You’re not alone! Many users face this issue, but the solution is simple. With just a few easy steps, you can enjoy your favorite shows in no time. Let’s get started on making your streaming experience smooth and hassle-free!
To connect your Roku remote to your TV, first, insert fresh batteries into the remote to ensure it has power. Next, turn on your TV and make sure it’s set to the correct HDMI input where your Roku device is connected. Then, pair the remote by pressing the pairing button until you see a light flash. Finally, follow the on-screen instructions that appear on your TV to complete the setup. Once done, you’ll be ready to enjoy your streaming content!
Quick Start: What You Need to Know Before You Begin
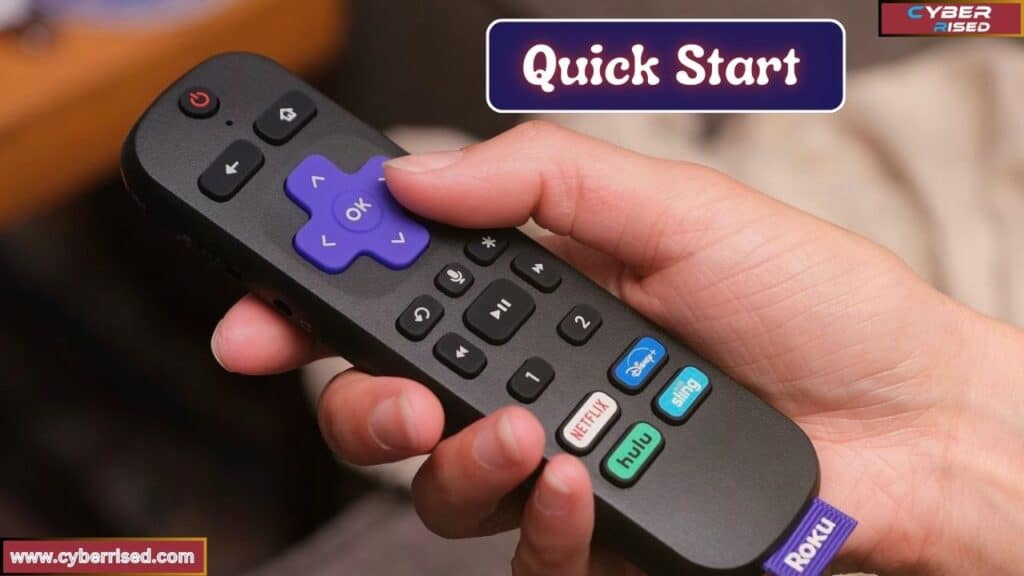
Before starting with any device, make sure you have all the essential components. This includes the device itself, cables, and a power source. Check that your internet connection is stable, as many devices need Wi-Fi to function. Also, keep your remote control or any other controller nearby.
Next, it’s important to read the manual or follow any on-screen instructions. Many devices will guide you through a setup process, which is usually simple. Ensure you have any accounts or passwords ready if needed. Once you’ve completed the setup, your device should be ready to use!
Roku offers two primary types of remotes, each with distinct features and connection methods:
- Standard IR Remote – Uses infrared technology for communication
- Enhanced “Point-Anywhere” Remote – Utilizes radio frequency for more flexible control
Let’s break down the key differences:
| Feature | Standard IR Remote | Enhanced Remote |
| Connection Type | Infrared | Radio Frequency |
| Range | 15 feet with line-of-sight | 30 feet in any direction |
| Battery Type | 2 AAA | 2 AA |
| Voice Control | No | Yes |
| Headphone Jack | No | Yes |
| Gaming Buttons | No | Yes (A and B) |
| Private Listening | No | Yes |
| Price Range | $15-$20 | $25-$30 |
| Pairing Required | No | Yes |
Pro Tip: Not sure which remote you have? Look for a headphone jack or voice control button. If you find either, you’ve got an Enhanced remote. Otherwise, you’re working with a Standard IR model.
Setting Up a Standard IR Roku Remote
If you’ve got a Standard IR remote, the setup process is straightforward but requires attention to detail:
Step-by-Step Connection Process
- Insert batteries into your remote
- Use fresh batteries for best results
- Ensure correct polarity (+/-)
- Power on your Roku TV
- Wait for the home screen to fully load
- This typically takes 15-30 seconds
- Establish a clear line-of-sight
- Remove any obstacles between remote and TV
- Optimal range is within 15 feet
- Test the connection
- Press directional buttons
- Try the Home button
- Check volume controls
Troubleshooting IR Remote Issues
If your standard remote isn’t responding, try these proven fixes:
- Check for Obstacles
- Even slight obstructions can block IR signals
- Watch for:
- Cabinet doors
- Sound bars
- Decorative items
- Verify Distance
- Stay within 15 feet of the TV
- Closer is generally better
- Battery Check
- Replace batteries even if relatively new
- Use high-quality batteries for longer life
- Clean Sensors
- Gently clean IR sensors on both remote and TV
- Use a soft, lint-free cloth
“90% of IR remote issues are resolved by ensuring a clear line-of-sight and fresh batteries.” – Roku Support Engineer
Connecting an Enhanced Roku Remote
Enhanced remotes offer more flexibility but require an initial pairing process.
Here’s your comprehensive guide:
Automatic Pairing During Initial Setup
When setting up a new Roku device:
- Power on your Roku device
- Connect to power and HDMI
- Wait for the welcome screen
- Insert batteries into the remote
- The remote should initiate pairing automatically
- Look for an on-screen confirmation
- Wait approximately 30 seconds
- The remote should pair automatically
- You’ll see a success message on screen
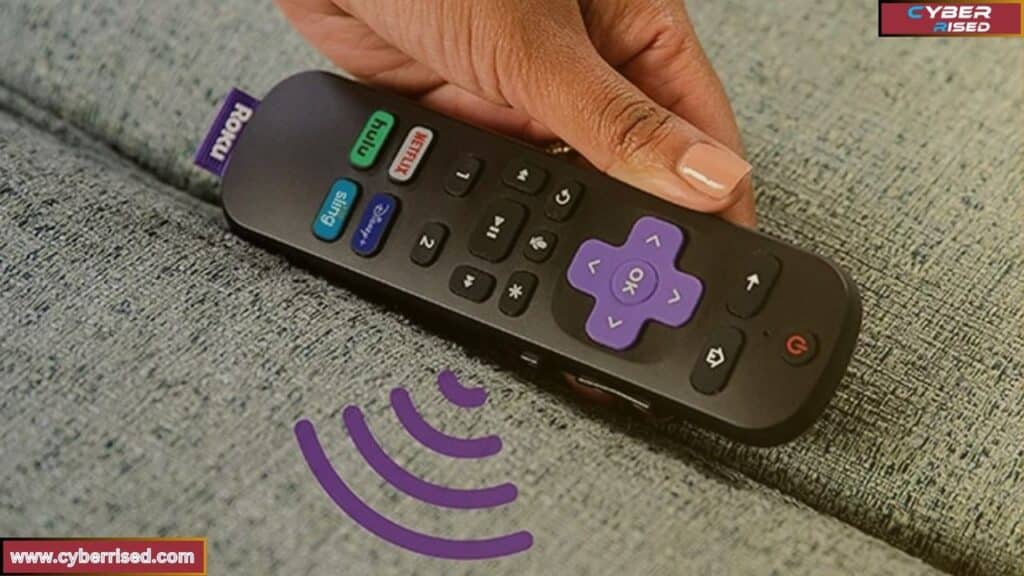
Manual Pairing Process
If automatic pairing fails, don’t worry. Follow these steps:
- Locate the pairing button:
- Usually found in the battery compartment
- Marked with a magnifying glass icon
- Initiate pairing:
- Remove and reinsert batteries
- Press and hold the pairing button for 3 seconds
- Watch for the status light to flash
- Complete the connection:
- Wait for on-screen confirmation
- Test all buttons to ensure full functionality
Pro Tips & Hidden Features
Your Roku remote is capable of more than you might think.
Here’s how to unlock its full potential:
1. Voice Control Capabilities
For Enhanced remotes with voice control:
- Press and hold the microphone button
- Speak naturally for:
- Content search across apps
- Channel launching
- Playback control
- Device settings
Common voice commands:
- “Find action movies“
- “Launch Netflix“
- “Turn on closed captions“
- “Replay last 30 seconds“
2. Private Listening
A game-changing feature for Enhanced remote users:
- Plug any headphones into the remote’s jack
- TV audio automatically routes to headphones
- Perfect for:
- Late-night viewing
- Shared living spaces
- Not disturbing others
Battery Tip: Private listening can drain batteries faster. Remove headphones when not in use.
3. Gaming Features
Transform your remote into a game controller:
- A and B buttons for compatible games
- Motion control for supported titles
- Popular games:
- Angry Birds
- Crossy Road
- Snake
4. Battery Life Optimization
Extend your remote’s battery life:
- Use high-quality batteries
- Remove headphones after use
- Disable voice control if unused
- Expected battery life:
- Standard use: 2-3 months
- Heavy use: 1-2 months
Comprehensive Problem-Solving Guide
When your Roku remote isn’t cooperating, follow this troubleshooting flowchart:
- Basic Checks
- Battery replacement
- Clear line-of-sight (IR remotes)
- Distance from TV
- Intermediate Solutions
- Power cycle the Roku device
- Re-pair the remote
- Check for system updates
- Advanced Fixes
- Factory reset the Roku device
- Try a different remote
- Use the Roku mobile app
Lost Remote Scenarios
Don’t panic if you’ve lost your remote:
- Download the Roku mobile app
- Connect your phone to the same WiFi as your Roku
- Use the app as a temporary remote
- Order a replacement remote
Using the Roku App
The Roku mobile app offers several advantages:
- Full remote functionality
- Keyboard for easier searching
- Private listening through your phone
- Channel management
Specific Usage Scenarios
Multiple Remotes, One TV
You can pair multiple remotes to a single Roku device:
- Follow standard pairing for each remote
- Label remotes to avoid confusion
- Limit: 4 remotes per device
Hotel/Dorm Room Setup
Special considerations for temporary setups:
- Bring an HDMI extension for tight spaces
- Connect to WiFi before remote setup
- Use the Roku app as backup
Troubleshooting Toolkit
Common Error Messages Decoded
| Error Code | Meaning | Solution |
| 001 | No signal | Check HDMI connection |
| 009 | Remote not detected | Re-pair remote |
| 014 | WiFi issue | Verify network settings |
| 016 | System update required | Update firmware |
| 018 | Remote battery low | Replace batteries |
Advanced System Reset
Are you facing issues with your device? An Advanced System Reset can help! This process restores your system to its original settings. Let’s explore how to perform this reset effectively.
An Advanced System Reset is a troubleshooting method used to fix various device problems. It removes all personal data and resets settings to factory defaults. Before proceeding, backup your important files. This ensures you don’t lose any valuable information during the reset process.
Final Thoughts
Connecting your Roku remote to your TV is a simple process. Whether you use a Simple Infrared Remote or an Advanced Remote, the steps are quick and easy. First, make sure to insert fresh batteries into the remote. Point the remote at the Roku device and follow the on-screen prompts. For the Advanced Remote, you might need to press the pairing button to complete the process.
If you’re having trouble, check for obstructions between the remote and your TV. Ensure that the batteries are working properly, and try reducing the distance between the remote and the device. For more complex remotes, like the Advanced Remote, you may need to perform a system update or power cycle. These simple fixes often resolve common issues quickly.
If the problem persists, don’t panic. Try resetting the remote or performing a system reset on your Roku TV. In extreme cases, a factory reset might be necessary. With these troubleshooting steps, you’ll know exactly how to connect a Roku remote to TV and have it up and running smoothly, making your viewing experience effortless again.
Frequently Asked Questions (FAQ’s)
How do I pair my Roku remote with my TV?
To pair your Roku remote, turn on your TV and Roku device. Insert the batteries, then press the pairing button located in the battery compartment. The remote should connect automatically.
How do I get my TV to recognize my Roku remote?
Ensure your Roku device is powered on and properly connected. For Roku TVs, check that the input is set to the correct HDMI port. Restarting both the Roku device and remote can help with recognition.
How can I pair my Roku remote to my TV without a pairing button?
If your remote doesn’t have a pairing button, check that it has fresh batteries. Point the remote directly at the Roku device and press any button. Your Roku device should respond to this action.
Can I use a Roku remote with any TV?
Standard Roku remotes control only Roku devices, not TVs. Roku TV remotes may work with compatible TVs that support HDMI-CEC. Refer to your TV’s manual for compatibility details.

Salikh Korgay is the author behind Cyber Rised, a blog dedicated to exploring the latest trends in technology and cybersecurity. With a passion for breaking down complex tech topics, Salikh provides readers with practical guides and insightful commentary to help them navigate the digital world. From tech enthusiasts to professionals, Salikh’s writing empowers audiences to stay informed and secure in the fast-evolving cyber landscape.