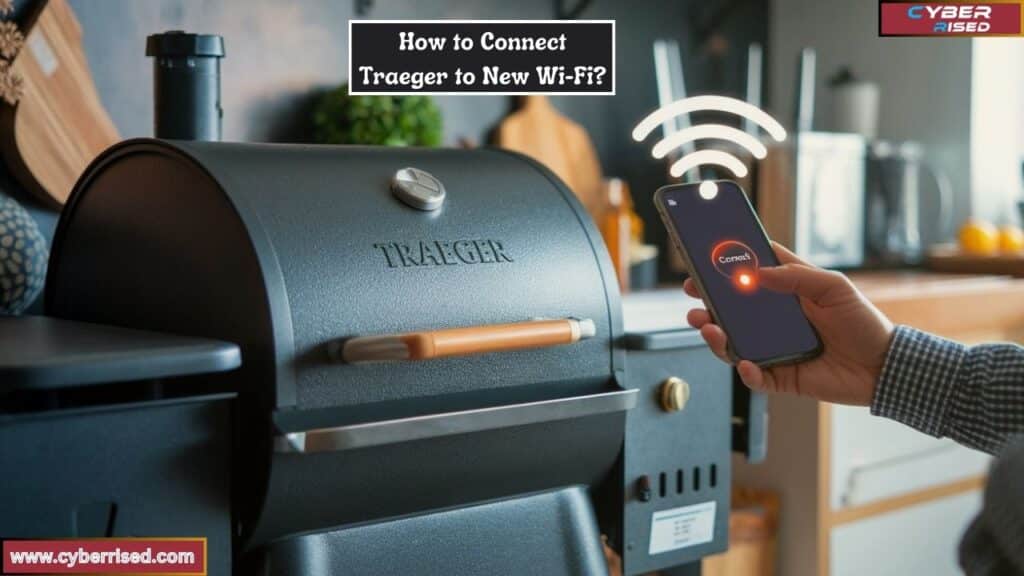
To connect your Traeger grill to a new Wi-Fi, start by resetting the grill’s Wi-Fi settings. Then, use the Traeger app on your smartphone to choose your new network and enter the password. This process allows you to enjoy remote monitoring and control of your grill.
Are you ready to take your grilling experience to the next level? Connecting your Traeger grill to a new Wi-Fi network opens up exciting possibilities. Imagine being able to control your grill right from your smartphone! This convenient feature allows you to monitor cooking temperatures and adjust settings without leaving your seat.
Connecting Traeger to new Wi-Fi is a straightforward process that enhances your grilling experience. First, reset your grill’s Wi-Fi settings by pressing the Wi-Fi button on the controller. Then, download the Traeger app on your smartphone. Select your new Wi-Fi network and enter the password in the app. Once completed, your grill will be connected, allowing you to monitor and control it remotely.
Understanding the Importance of Wi-Fi Connectivity in Traeger Grills
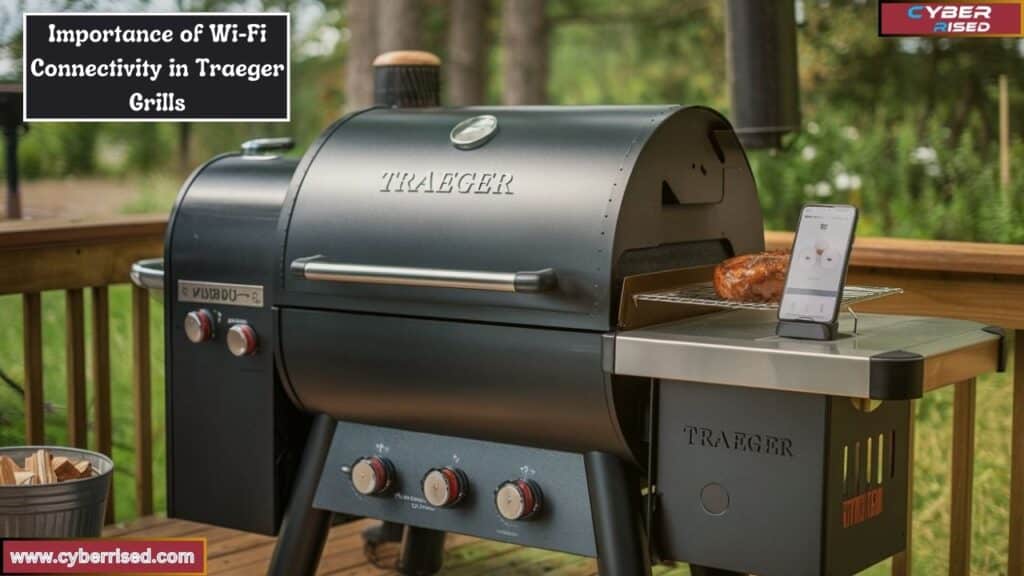
Before diving into the specifics of connecting your Traeger grill to a new Wi-Fi network, it’s crucial to understand why this capability is significant.
The Benefits of Wi-Fi Connectivity
- Remote Monitoring: One of the primary advantages of a Wi-Fi-enabled Traeger grill is the ability to monitor and control your cooking from anywhere using your smartphone.
- Real-Time Updates: The Traeger app provides real-time updates on cooking temperatures and alerts when your food is ready, allowing for a more hands-off approach to grilling.
- Enhanced Recipes: Access to an extensive library of recipes tailored for your specific grill model helps you make the most of your cooking experience.
- Control Over Cooking Settings: You can adjust temperature settings, cooking times, and even turn the grill on or off remotely.
Preparing Your Traeger Grill for a New Wi-Fi Connection
Check Compatibility
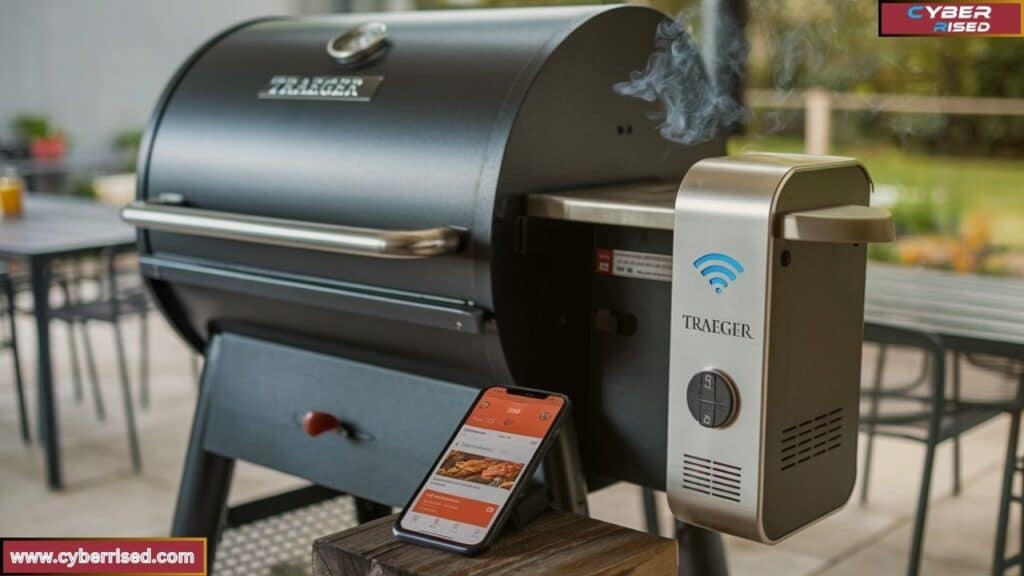
The first step in connecting your Traeger to a new Wi-Fi network is to ensure that your model supports Wi-Fi functionality. Most of the newer models, especially those labeled as D2-Wi-FiRE-enabled, have this feature. You can verify compatibility through the user manual or on the official Traeger website.
Update the Traeger App
Having the latest version of the Traeger app is crucial for a smooth connection process.
Here’s how to check for updates:
- For Android Users: Open the Google Play Store, search for “Traeger,” and tap “Update” if there is an available update.
- For iPhone Users: Open the App Store, search for “Traeger,” and tap “Update” if it appears.
Connecting Your Traeger Grill to a New Wi-Fi Network
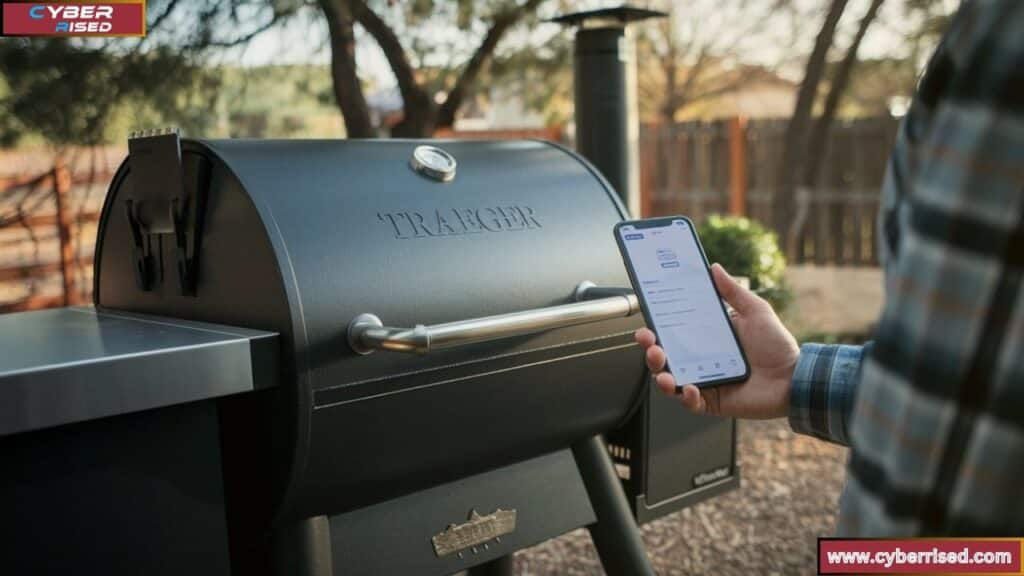
Once you’ve confirmed that your grill is compatible and your app is up to date, you’re ready to connect your Traeger to a new Wi-Fi network.
Step-by-Step Instructions
- Power On the Grill: Begin by turning on your Traeger grill. Make sure it is plugged in and fully operational.
- Access Wi-Fi Settings: On the grill’s control panel, navigate to the Wi-Fi settings. This typically involves selecting a menu option labeled “Settings” or “Wi-Fi.”
- Search for Available Networks: The grill will begin scanning for available Wi-Fi networks in your vicinity. This process should only take a few seconds.
- Select Your New Wi-Fi Network: Once the scan is complete, you’ll see a list of available networks. Choose your new Wi-Fi connection from this list.
- Enter Wi-Fi Password: You will be prompted to enter your Wi-Fi password. Make sure to input it accurately, taking note of capitalization and any special characters.
- Confirm the Connection: After entering your password, confirm the connection. Your grill will attempt to connect to the Wi-Fi network. If successful, a notification will appear on the control panel indicating that you are now connected.
Visual Aids
For better understanding, here’s a simple diagram summarizing the connection process:
| Step | Action | Screen Display |
| 1 | Power on the grill | Controller ON |
| 2 | Access Wi-Fi settings | Wi-Fi Menu |
| 3 | Search for networks | Scanning… |
| 4 | Select network | Available Networks |
| 5 | Enter password | Password Entry |
| 6 | Confirm connection | Connected! |
Connecting Traeger to New Wi-Fi on Android and iPhone
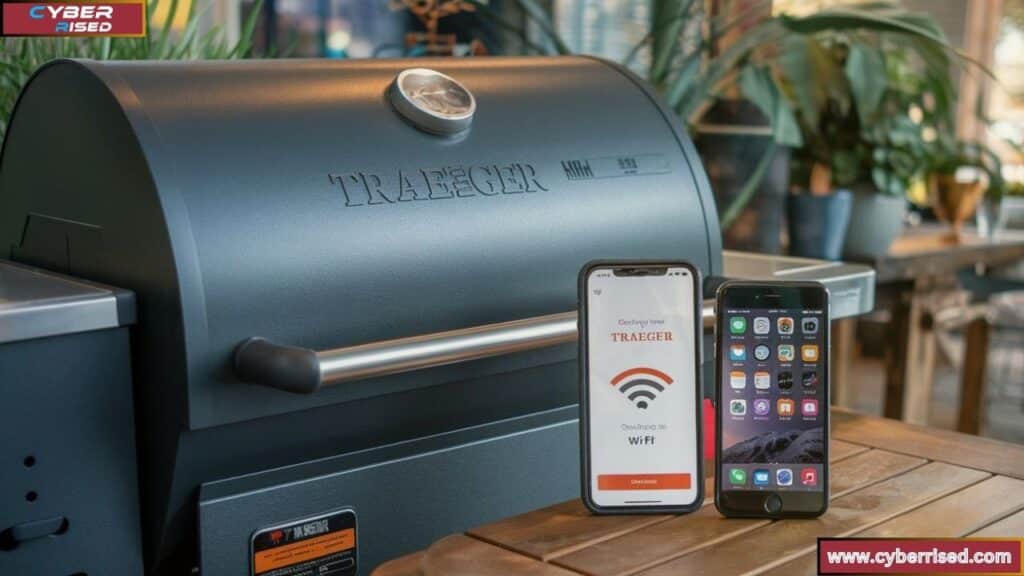
The process for connecting your Traeger grill varies slightly between Android and iPhone devices, but the core steps remain the same.
For Android Users
- Download and Open the Traeger App: Ensure that the app is installed and updated on your device.
- Log In: If you haven’t already, create an account or log in to your existing account.
- Add Your Grill: Follow the prompts within the app to add your Traeger grill.
- Scan QR Code or Manually Enter Details: Some Traeger models allow you to scan a QR code located on the grill. If not, you can enter the grill name and password manually.
For iPhone Users
- Install the Traeger App: Make sure you have the latest version of the Traeger app.
- Sign In: Create or log in to your account.
- Connect Your Grill: Follow the app prompts to add your grill.
- QR Code Scan or Manual Input: Use the QR code scanning feature if available, or enter your Wi-Fi details manually.
Troubleshooting Common Connection Issues
While the process is straightforward, sometimes issues can arise. Here are some common problems you might encounter and how to resolve them.
Network Still Appears on Grill After a Wi-Fi Reset
If your Traeger grill continues to display the old network after you’ve performed a Wi-Fi reset, this could be due to several reasons:
- Cached Network Information: The grill may still be retaining the previous connection data.
- Incomplete Reset: Ensure that you’ve followed the proper reset procedure.
Steps to Clear Previous Connections
- Power Off the Grill: Turn your Traeger completely off.
- Power Cycle Your Router: Turn off your network router and then turn it back on.
- Perform a Wi-Fi Reset on the Grill: Follow the user manual’s instructions to reset the grill’s Wi-Fi settings.
What to Do if the Grill Can’t Find My Home Wi-Fi Network
If your grill struggles to find your home network, consider these troubleshooting steps:
- Check Wi-Fi Signal Strength: Ensure that your grill is within 30 feet of the network router. Walls and other obstructions can weaken the signal.
- Verify Router Settings: Make sure your router is set to broadcast on the 2.4 GHz frequency. Many Traeger models do not support the 5 GHz band.
- Restart Both Devices: Power cycle your Traeger grill and the Wi-Fi router to refresh their connections.
Checking the Network Connection
To confirm your Traeger is connected to the correct network, navigate to the Wi-Fi settings on the grill. The display should show the name of your current network. If it does not, you may need to repeat the connection process.
Connecting Traeger to New Wi-Fi Without QR Code
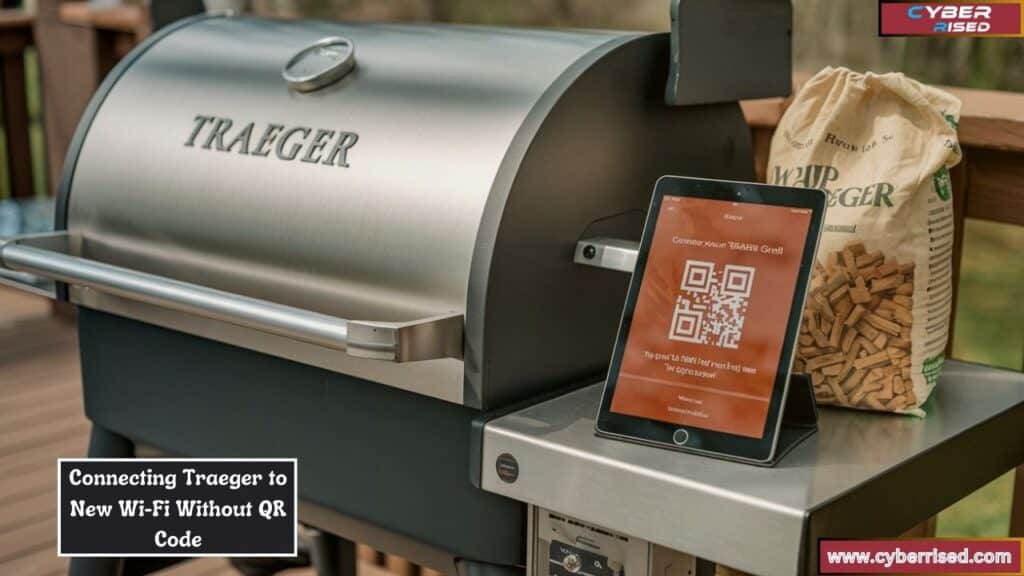
If you find yourself without a QR code, you can still connect your Traeger to a new Wi-Fi network using manual entry.
Here’s how to do it:
- Open the Traeger App: Ensure you are logged in.
- Select Your Grill: Choose your grill from the app’s interface.
- Manually Enter Grill Name and Password: Follow the prompts to input your new Wi-Fi details.
Alternative Connection Methods
Apart from the app, you can also connect your Traeger directly through the grill’s control panel. Use the same steps for accessing Wi-Fi settings and entering network information.
Connection Requirements
Before attempting to connect your Traeger grill to a new Wi-Fi network, ensure you meet the following requirements:
- Wi-Fi Compatibility: Confirm that your grill supports the D2-Wi-FiRE-enabled feature.
- Distance from Router: The grill should be within 30 feet of the network router for optimal signal strength.
- Wi-Fi Status: Ensure your Wi-Fi network is operational and turned on.
Recommended Wi-Fi Setup for Traeger
To optimize your connection, consider the following recommendations:
- Position Your Router: Ensure your router is centrally located in your home for better coverage.
- Avoid Interference: Keep your grill away from electronic devices that may cause interference, such as microwaves and cordless phones.
- Use a Dual-Band Router: If possible, invest in a dual-band router that can broadcast both 2.4 GHz and 5 GHz signals. This will ensure your grill has access to the best possible connection.
Advanced Troubleshooting Tips
If you continue to experience issues connecting your Traeger to a new Wi-Fi network.
Here are some advanced troubleshooting tips you can try:
- Reset Network Settings on Your Phone: If your app is having issues, reset your phone’s network settings. This can often resolve connectivity issues.
- Reinstall the Traeger App: Uninstall and then reinstall the Traeger app to eliminate any software glitches.
- Check for Firmware Updates: Sometimes, a firmware update for your grill can improve connectivity. Check the Traeger website or app for any available updates.
Final Thoughts
Connecting your Traeger grill to a new Wi-Fi network unlocks a world of possibilities for your outdoor cooking experience. With this feature, you can monitor and control your grill from your smartphone using the Traeger app. Imagine being able to check the temperature or adjust settings while relaxing with family or friends. This level of convenience enhances your grilling game and lets you focus more on enjoying the moment.
Troubleshooting any connection issues is part of the process but is often straightforward. If your grill has trouble finding your network, check the Wi-Fi signal strength and ensure your grill is within range of the router. Sometimes, a simple power cycle of the router or the grill itself can resolve connectivity problems. Following the outlined steps can help you troubleshoot effectively and get back to cooking without stress.
In summary, connecting your Traeger grill to Wi-Fi transforms your grilling experience into a seamless and enjoyable activity. The ability to manage your grill remotely not only makes cooking easier but also allows you to savor your time with loved ones. So, take the plunge, connect to your new Wi-Fi, and elevate your culinary adventures with Traeger!
Frequently Asked Questions (FAQ’s)
How do I connect my Traeger to a new Wi-Fi?
To connect your Traeger grill to a new Wi-Fi, start by resetting the Wi-Fi settings on your grill. Open the Traeger app on your smartphone and ensure your grill is powered on. Follow the app’s prompts to select your new network and enter the password. Once you’ve completed these steps, your grill should connect to the new Wi-Fi network.
How do I reset the Wi-Fi on my Traeger grill?
To reset the Wi-Fi on your Traeger grill, press and hold the Wi-Fi button on the controller until the light begins to blink. This process will erase the old Wi-Fi settings, allowing you to set up a new connection. After resetting, use the Traeger app to establish a connection with your new Wi-Fi network.
How do I set up Bluetooth on my Traeger?
To set up Bluetooth on your Traeger, first ensure your grill has Bluetooth capabilities. Open the Traeger app and navigate to the Bluetooth settings. Enable Bluetooth on your smartphone and select your Traeger grill from the list of available devices. Follow the app’s instructions to complete the connection.
How long does Traeger take to connect to Wi-Fi?
Typically, Traeger takes only a few minutes to connect to Wi-Fi after you enter the correct network credentials. Factors such as the distance from your router and signal strength can affect the connection time. If your grill doesn’t connect within a few minutes, consider checking the Wi-Fi signal or restarting both the grill and the router.

Salikh Korgay is the author behind Cyber Rised, a blog dedicated to exploring the latest trends in technology and cybersecurity. With a passion for breaking down complex tech topics, Salikh provides readers with practical guides and insightful commentary to help them navigate the digital world. From tech enthusiasts to professionals, Salikh’s writing empowers audiences to stay informed and secure in the fast-evolving cyber landscape.

